


Docker安装Harbor私有镜像仓库
518 字
3 分钟
Docker安装Harbor私有镜像仓库
1.安装docker环境
-
安装/升级Docker客户端
仅适用于公网环境
Terminal window curl -fsSL https://get.docker.com | bash -s docker --mirror Aliyun -
配置镜像加速器
去阿里云控制台-容器镜像服务-镜像加速器-找到你的加速地址
Terminal window sudo mkdir -p /etc/dockersudo tee /etc/docker/daemon.json <<-'EOF'{"registry-mirrors": ["https://xxxx.mirror.aliyuncs.com"]}EOFsudo systemctl daemon-reloadsudo systemctl restart docker
2.申请(免费)证书
自己申请
证书pem转crt
openssl x509 -in xxx.pem -out xxx.crt3.域名解析
自己申请域名 自己解析
4.安装Docker-compose
-
去github下载最新安装文件
-
移动并授权
Terminal window cp docker-compose-linux-x86_64 /usr/local/bin/cd /usr/local/binmv docker-compose-linux-x86_64 docker-composechmod +x docker-composedocker-compose --version
5.安装Harbor
-
下载并上传证书到服务器
-
下载在线安装包并解压
Terminal window yum install -y wgetwget https://github.com/goharbor/harbor/releases/download/v2.4.1/harbor-online-installer-v2.4.1.tgztar -xvf harbor-online-installer-v2.4.1.tgz -
配置Harbor
cd 到解压后的文件夹
-
复制一份配置文件
Terminal window cp harbor.yml.tmpl harbor.yml -
编辑配置文件
Terminal window vim harbor.yml# Configuration file of Harbor# The IP address or hostname to access admin UI and registry service.# DO NOT use localhost or 127.0.0.1, because Harbor needs to be accessed by external clients.hostname: 你的harbor域名# http related confighttp:# port for http, default is 80. If https enabled, this port will redirect to https portport: 80# https related confighttps:# https port for harbor, default is 443port: 443# The path of cert and key files for nginxcertificate: pem或crt文件的路径private_key: key文件的路径# # Uncomment following will enable tls communication between all harbor components# internal_tls:# # set enabled to true means internal tls is enabled# enabled: true# # put your cert and key files on dir# dir: /etc/harbor/tls/internal# Uncomment external_url if you want to enable external proxy# And when it enabled the hostname will no longer used# external_url: https://reg.mydomain.com:8433# The initial password of Harbor admin# It only works in first time to install harbor# Remember Change the admin password from UI after launching Harbor.harbor_admin_password: Harbor12345# Harbor DB configurationdatabase:# The password for the root user of Harbor DB. Change this before any production use.password: 最好改一下# The maximum number of connections in the idle connection pool. If it <=0, no idle connections are retained.max_idle_conns: 100# The maximum number of open connections to the database. If it <= 0, then there is no limit on the number of open connections.# Note: the default number of connections is 1024 for postgres of harbor.max_open_conns: 900 -
启动
Terminal window ./install.sh
安装完成后访问
https://你的域名默认账号密码
/Harbor12345 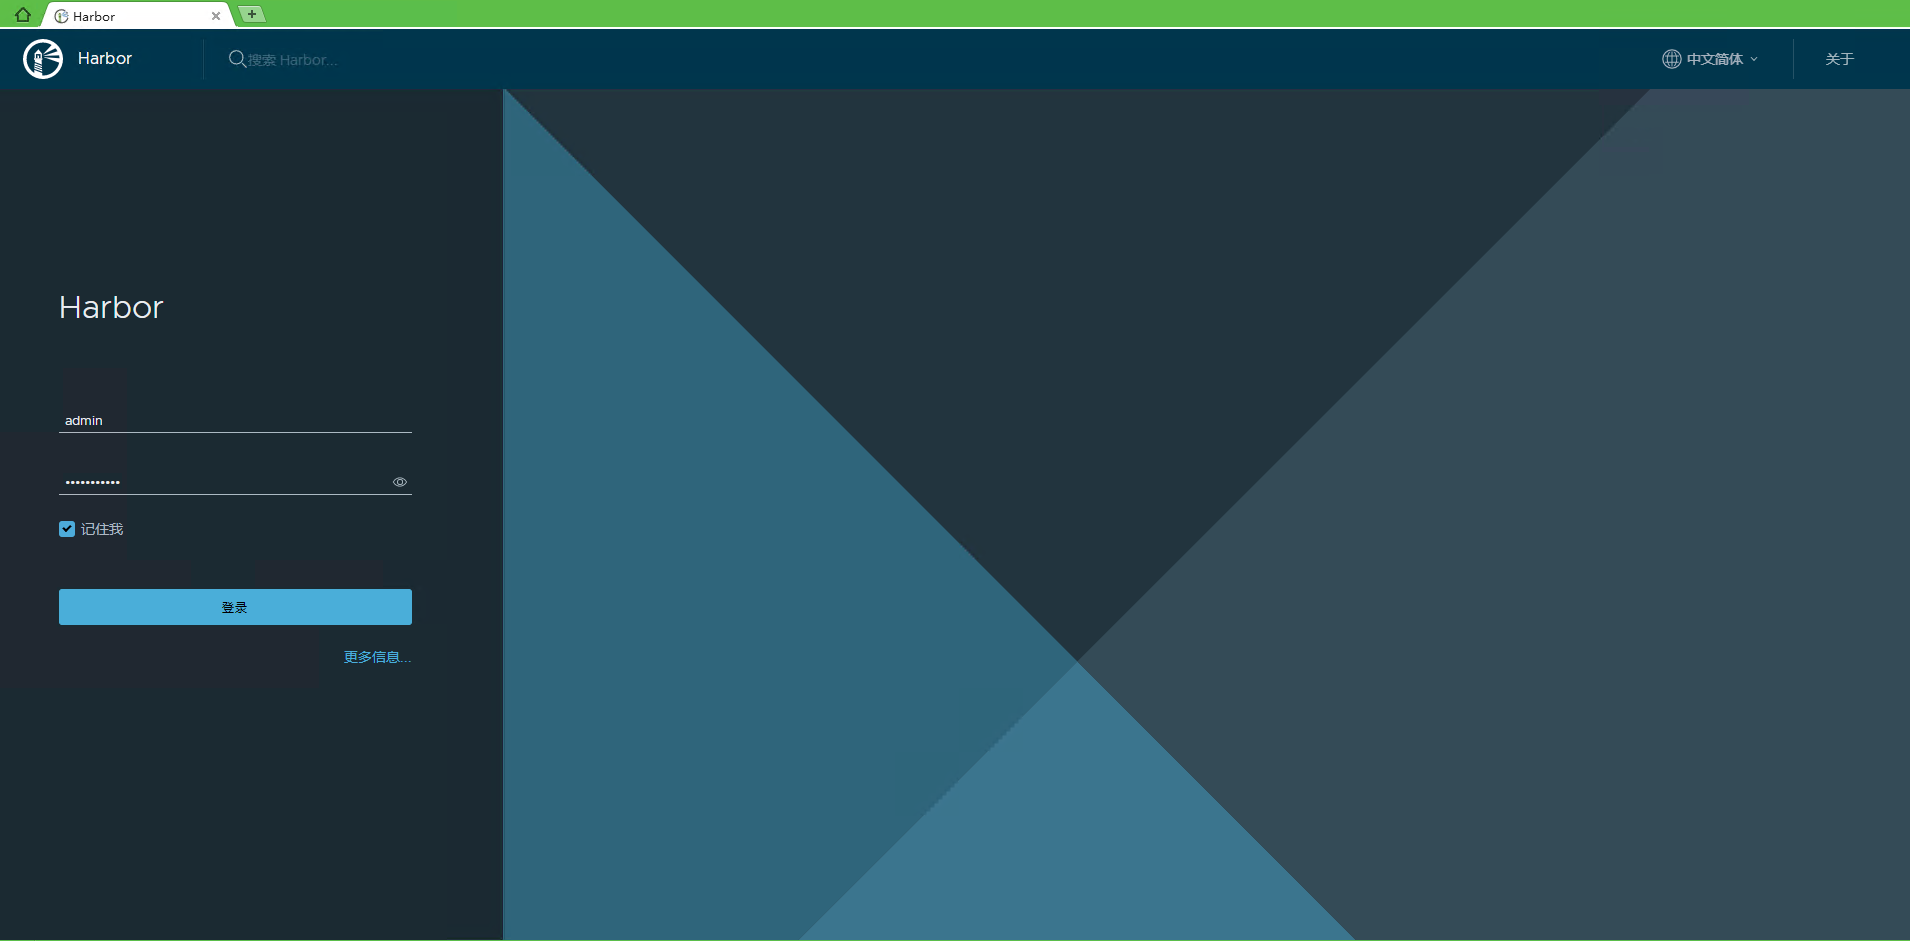
image-20220216104738377 -
文章分享
如果这篇文章对你有帮助,欢迎分享给更多人!
文章
115
分类
8
标签
35
总字数
216,150
运行时长
0 天
最后活动
0 天前
站点域名tianch.com.cn
Fireflyv6.15.6
Astrov7.1.3
Nodev22.16.0
pnpmunknown
构建时间2026年8月14日 19:33:58
系统信息Linux / x86_64